"Hello, World" with Visual Studio
In this tutorial, you will create a cross-platform desktop application using C# and Microsoft Visual Studio. The application will display a message box in response to a button click.
Microsoft Visual Studio is supported on Windows OS only. To develop on macOS or Linux, see "Hello, World" with Command-Line and VS Code.
Prerequisites
- Install Microsoft Visual Studio. Visual Studio 2022 is supported.
- Ensure the ".NET Desktop Development" or "ASP.NET and web development" workflow is installed.
- Download and install AlterNET UI Visual Studio extension.
Create New Project
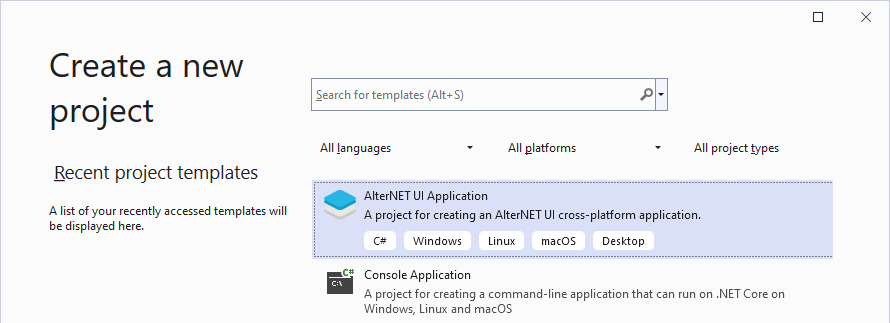
Open Visual Studio, and in the start window, select Create new project.
On the Create new project page, locate the AlterNET UI Application template. Select it, then click Next.
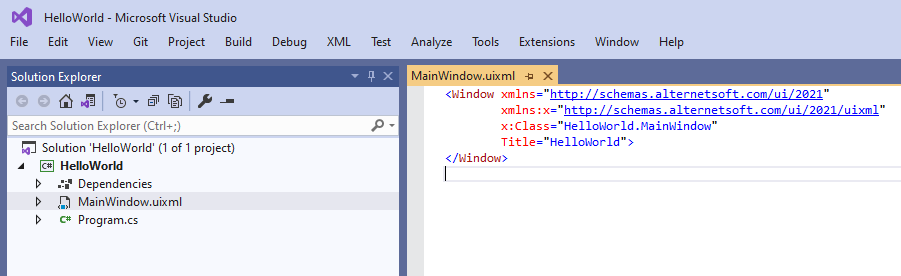
On the Configure your new project page set the project name to
HelloWorldand specify the desired project location. When done, click Create.The project will be created, and you will be presented with a development environment.
Press
Ctrl+F5to build and run the application. The application will start and display its window: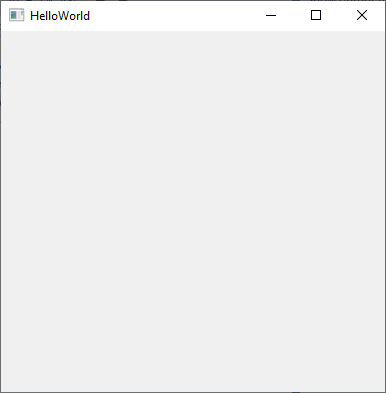
In Visual Studio, open
MainWindow.uixml. In the editor, change theTitleattribute value from"HelloWorld"to"My First Application":<Window xmlns="http://schemas.alternetsoft.com/ui/2021" xmlns:x="http://schemas.alternetsoft.com/ui/2021/uixml" x:Class="HelloWorld.MainWindow" Title="My First Application"> </Window>Press
Ctrl+F5to build and run the application and see its window title has changed accordingly.
Note
By default, the created project will use .NET 8.0 as a target framework. If .NET 8.0 runtime is not installed on your machine, you will be prompted to do so on the first application run.
Add Button to the Window
In
MainWindow.uixml, add the following markup:<Window xmlns="http://schemas.alternetsoft.com/ui/2021" xmlns:x="http://schemas.alternetsoft.com/ui/2021/uixml" x:Class="HelloWorld.MainWindow" Title="My First Application"> <StackPanel> <Button Name="helloButton" Text="Say Hello" Margin="20" /> </StackPanel> </Window>Run the application by pressing
Ctrl+F5: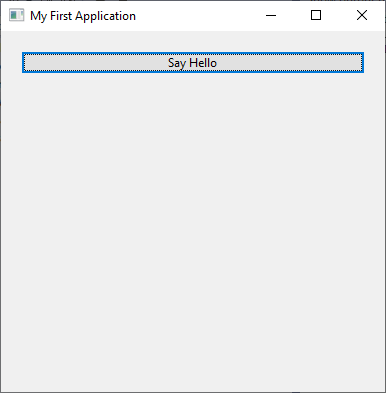
Write Code to Respond to the Button Click
In
MainWindow.uixml, add theClickattribute to theButtonelement like the following:<Window xmlns="http://schemas.alternetsoft.com/ui/2021" xmlns:x="http://schemas.alternetsoft.com/ui/2021/uixml" x:Class="HelloWorld.MainWindow" Title="My First Application"> <StackPanel> <Button Name="helloButton" Text="Say Hello" Margin="20" Click="HelloButton_Click" /> </StackPanel> </Window>This will bind the
Clickevent to its handler, ' HelloButton_Click`.In
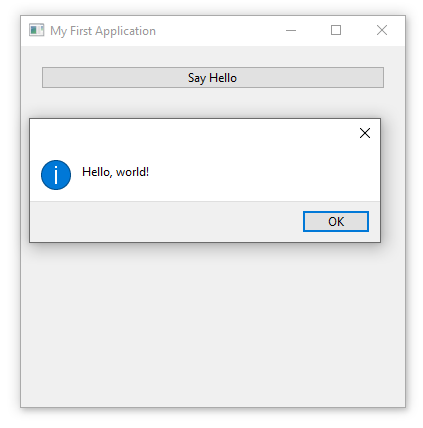
MainWindow.uixml.csfile, add the followingHelloButton_Clickmethod:using System; using Alternet.UI; namespace HelloWorld { public partial class MainWindow : Window { public MainWindow() { InitializeComponent(); } private void HelloButton_Click(object? sender, EventArgs e) { MessageBox.Show("Hello, world!"); } } }You can use IntelliSense features provided by the AlterNET UI Visual Studio Extension:
Run the application, then click Say Hello button. The message box appears:
Note
The application created in this tutorial can be compiled and run without modifications on all the supported platforms: Windows, macOS, and Linux.
Congratulations, you have successfully completed the "Hello, World" tutorial using Microsoft Visual Studio.
For a similar tutorial, but using command line tools and Visual Studio Code, see "Hello, World" with Command-Line and Visual Studio Code.