Quick Start with Command Line and Visual Studio Code
In this tutorial you will create a cross-platform desktop application using C#, .NET command line tools and Visual Studio Code. The application will display a message box in response to a button click.
Prerequisites
- Download and install .NET SDK. Minimum supported SDK version is .NET Core 3.1.
- Install AlterNET UI project templates by running
dotnet new --install Alternet.UI.Templates - Download and install Visual Studio Code
- In Visual Studio Code, make sure the C# extension is installed. For information about how to install extensions on Visual Studio Code, see VS Code Extension Marketplace.
Create New Project
- Create a new directory for your application, name it
HelloWorld - Open the Command Prompt window (Terminal on macOS or Linux)
- Navigate the terminal to the created directory:
cd path/to/HelloWorld - Enter the following command to create a new project in the current directory:
dotnet new alternet-ui - The following files will be created:
HelloWorld.csproj MainWindow.uixml MainWindow.uixml.cs Program.cs - Compile and run the created project by executing:
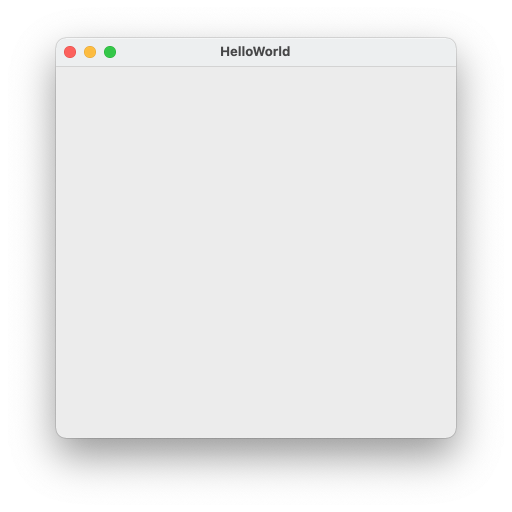
dotnet run
The application will start and display its window:
Note
By default the created project will use .NET Core 3.1 as a target framework. If .NET Core 3.1 runtime is not installed on your machine you will be prompted to do so on the first application run.
Open Project with Visual Studio Code
Start Visual Studio Code.
Select File > Open Folder (File > Open... on macOS) from the main menu.
In the Open Folder dialog, locate a HelloWorld folder and click Select Folder (Open on macOS).
The popup prompting Select 1 of 2 projects will appear at the top of the screen:

Select All contained projects.
After several seconds, a popup dialog with message Required assets to build and debug are missing from 'HelloWorld'. Add them? will appear at the bottom-right corner of the screen:
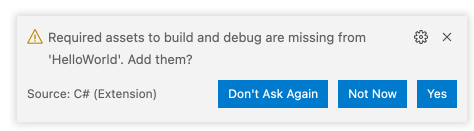
Select Yes. The
.vscodesubdirectory will be created with the workspace settings automatically set up.Now you can debug your application by pressing
F5, or run it without debugging by pressingCtrl+F5. The application will be built automatically, if required.Open
MainWindow.uixmlby clicking the corresponing item in the VS Code Explorer panel. In the editor, change theTitleattribute value from"HelloWorld"to"My First Application":<Window xmlns="http://schemas.alternetsoft.com/ui/2021" xmlns:x="http://schemas.alternetsoft.com/ui/2021/uixml" x:Class="HelloWorld.MainWindow" Title="My First Application"> </Window>Press
Ctrl+F5to build and run the application and see its window title had changed accordingly.
Note
For information and tutorials on general C# development and debugging with Visual Studio Code, see the corresponding MSDN article.
Add Button to the Window
In
MainWindow.uixml, add the following markup:<Window xmlns="http://schemas.alternetsoft.com/ui/2021" xmlns:x="http://schemas.alternetsoft.com/ui/2021/uixml" x:Class="HelloWorld.MainWindow" Title="My First Application"> <StackPanel> <Button Name="helloButton" Text="Say Hello" Margin="20" /> </StackPanel> </Window>Run the application by pressing
Ctrl+F5: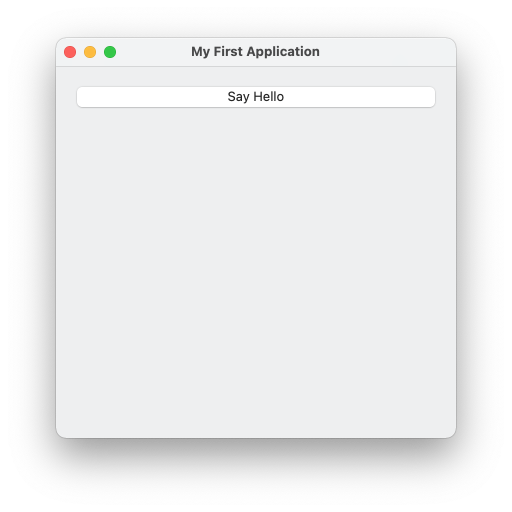
Write Code to Respond to the Button Click
In
MainWindow.uixml, add theClickattribute to theButtonelement like the following:<Window xmlns="http://schemas.alternetsoft.com/ui/2021" xmlns:x="http://schemas.alternetsoft.com/ui/2021/uixml" x:Class="HelloWorld.MainWindow" Title="My First Application"> <StackPanel> <Button Name="helloButton" Text="Say Hello" Margin="20" Click="HelloButton_Click" /> </StackPanel> </Window>This will bind the
Clickevent to its handler namedHelloButton_Click.In
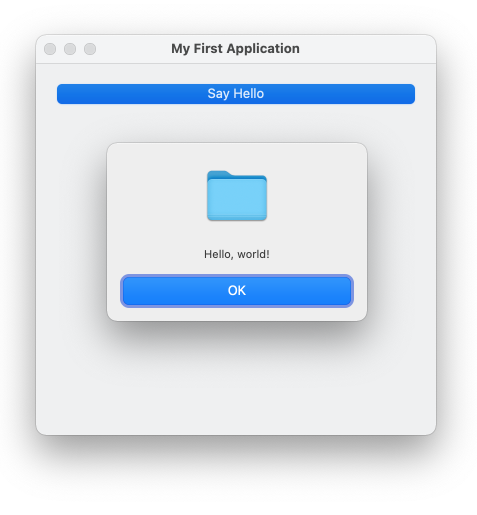
MainWindow.uixml.csfile, add the followingHelloButton_Clickmethod:using System; using Alternet.UI; namespace HelloWorld { public partial class MainWindow : Window { public MainWindow() { InitializeComponent(); } private void HelloButton_Click(object? sender, EventArgs e) { MessageBox.Show("Hello, world!"); } } }Run the application, then click Say Hello button. The message box appears:
Note
The application created in this tutorial can be compiled and run without any modifications on all the supported platforms: Windows, macOS, Linux.
Congratulations, you have successfully completed the Quick Start tutorial using command line tools and Visual Studio Code.
For a similar tutorial, but using Visual Studio on Windows, see Quick Start with Visual Studio.